Christmas Mailbox Decorations 2026: Welcoming Holiday Display Ideas
Evergreen swags, oversized bows, and candy cane posts give a Christmas mailbox three distinct looks. Keep everyday access clear. These ten ideas focus on decorating a working residential mailbox.
You’ll find practical materials and attachment guidance for the mailbox post and other outdoor Christmas decorations. Function comes first. A separate Santa letter station offers one optional display.
The lead image should show an accessible door, flag, and house number. Show those details clearly. Suggested alt text: “Evergreen mailbox swag with red bow, leaving door, flag, and house number visible.”
Before You Decorate: Fit, Weather, and Mail Delivery
• Check the surface. Christmas mailbox decorating tips should account for painted steel, aluminum, or plastic before choosing fasteners. Check the finish first. Magnets won’t grip aluminum or plastic housings.
• Choose removable attachments. Use soft, nonabrasive straps that don’t cross hinges or compress the box. Test removal before decorating. Adhesives can lift paint or leave residue, especially on weathered finishes.
• Plan for exposure. Choose outdoor-rated materials suited to rain, snow, and sunlight, including rust-resistant fasteners and colorfast ribbon. Wet greenery adds weight. Recheck attachments after storms, and remove ice-heavy arrangements.
• Test normal operation. Open the mailbox door fully and move the carrier signal flag through its complete travel. Leave address numbers visible. Keep the carrier approach clear, including space needed for vehicle access.
• Remove delivery hazards. Cover wire ends and eliminate sharp edges, dangling pieces, or loops that could snag clothing. Keep decorations outside. Nothing should occupy the mail compartment or interfere with retrieving letters.
• Confirm permission and performance. Don’t attach accessories to shared or cluster mailboxes without authorization. Check current USPS guidance and applicable property rules for uncertain installations. Keep practical implementation simple. Require secure attachment, weather resistance, and normal delivery access.
1. Secure an Evergreen Swag Along the Mailbox Top
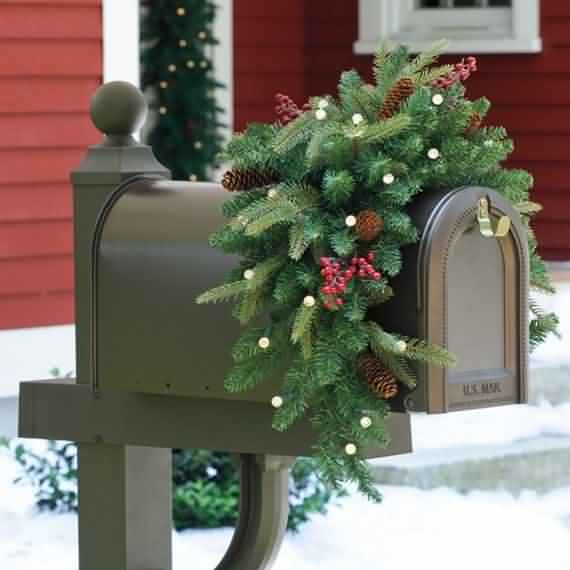
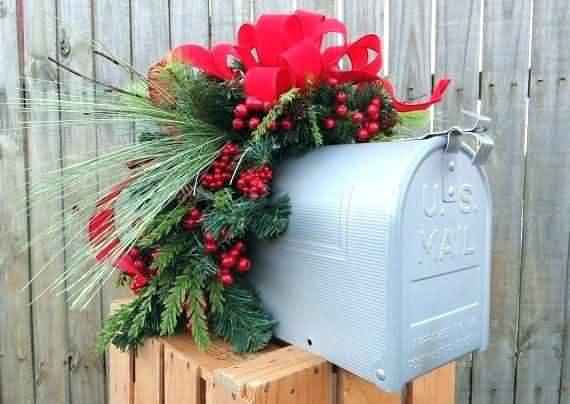
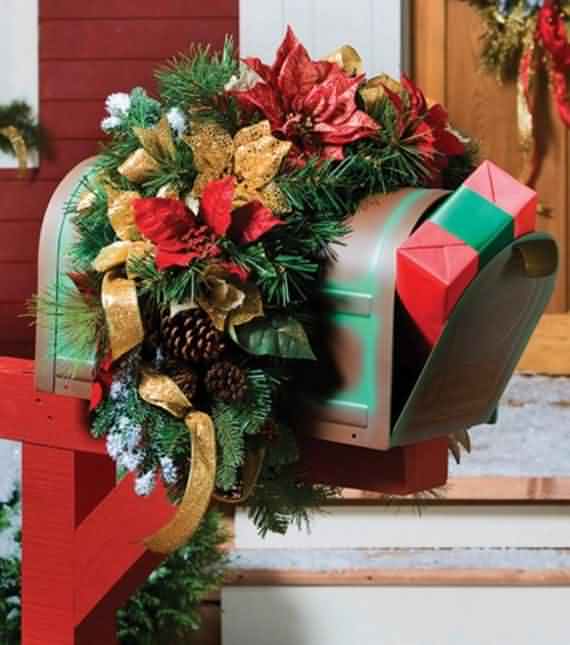
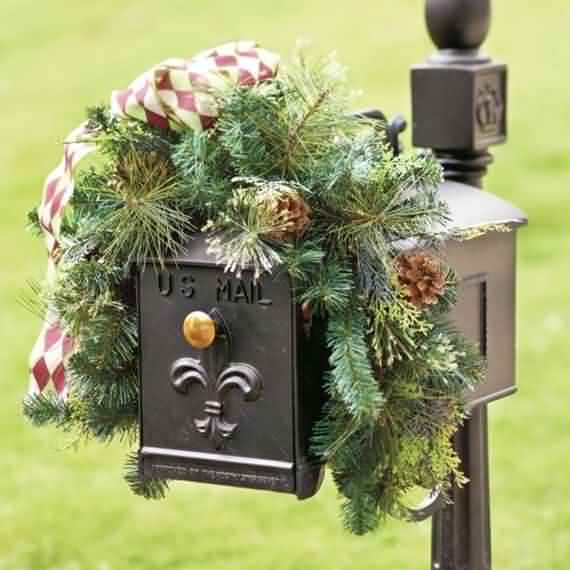
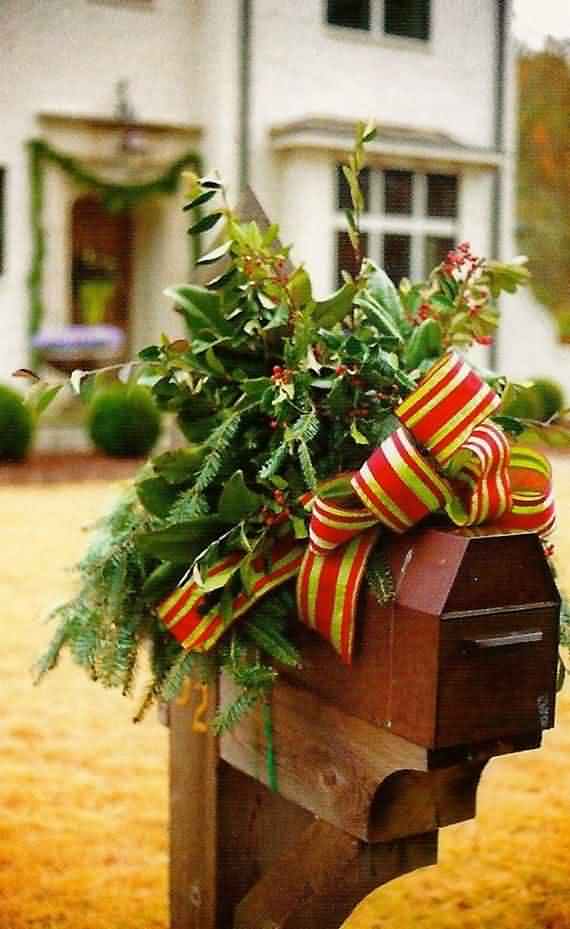
A small evergreen mailbox swag gives the curved top a defined shape without burying the box. Keep the profile low. Choose a bundle slightly shorter than the housing, with tips extending toward the sides rather than the door.
1. Assemble the bundle. Layer faux evergreen branches or fresh cedar with stems overlapping at the center. Bind the stems securely. Tie outdoor ribbon around that junction, keeping the tails short enough to stay above the door.
2. Position it on top. Set the bundle lengthwise along the housing, with its fullest section above the center. Check both sides. Shift branches away from the flag, door hinges, and address numbers.
3. Secure the stems. Use finish-compatible removable straps, choosing soft reusable straps rather than exposed wire against paint. Follow the strap instructions. Keep attachment paths clear of moving parts, and tighten only enough to prevent sliding.
Christmas mailbox greenery needs occasional attention. Faux branches offer yearly reuse; fresh cedar supplies natural texture but dries out and sheds. Don’t leave brittle stems attached.
Approximate hands-on time: 15–20 minutes. Allow extra fitting time.
Photo brief: Show a three-quarter view. Make both strap positions visible beneath the greenery, with the door, flag, and numbers unobstructed.
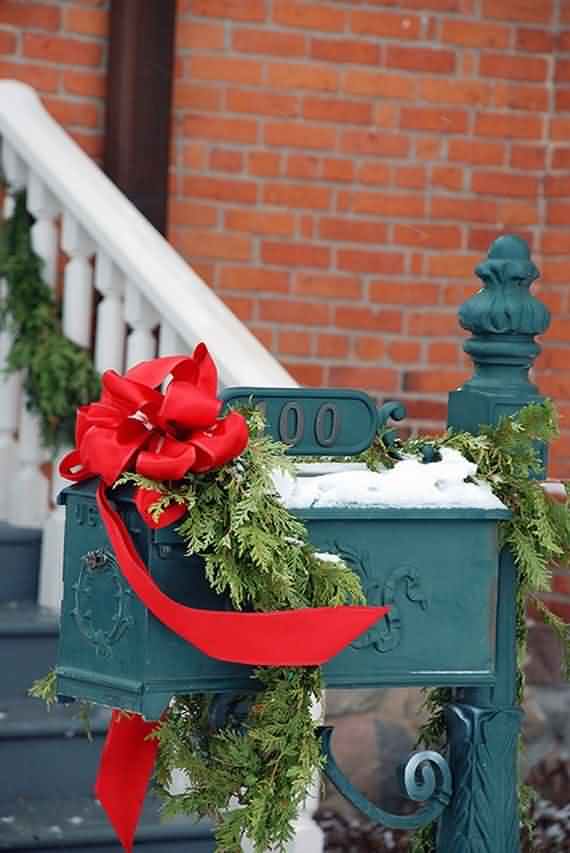
2. Add One Oversized Weather-Resistant Bow
A single Christmas mailbox bow gives a plain post a clear focal point without requiring greenery or ornaments. Scale matters more than fullness. Choose outdoor Christmas ribbon labeled for exterior use, and check its stated resistance to fading and moisture. Don’t assume fabric is waterproof unless the manufacturer’s specifications explicitly support that claim.
Wired outdoor ribbon lets you shape broad loops that hold their outline better than unsupported fabric. Start with four loops. Pinch the center, secure it with covered floral wire, then fan the loops evenly. Hold the bow against the mailbox post before tightening; it should accent the post, not overwhelm the box.
Position the bow on the post’s front face, below the box and away from the door’s opening path. Keep the tails short. Trim them above address numbers and away from places where clothing, bags, or passing equipment could catch. Fasten the center with a soft outdoor-rated tie around the post; tuck every wire end behind the bow.
Allow roughly 10–15 minutes for assembly and fitting; a premade bow usually needs only shaping and attachment. Photograph from the curb. Image brief: Show the entire mailbox and post, making the bow’s proportions and short tails clearly visible.
3. Wrap the Post in Candy Cane Stripes
A red spiral gives an existing white mailbox post a candy cane mailbox look without repainting. The white supplies the contrast. Choose flat, removable red outdoor ribbon wide enough to read clearly from the curb. Allow approximately 20–30 minutes for measuring, wrapping, and securing a single post.
Start just below the mailbox support and wind downward, keeping the ribbon flat against each face. Spacing sets the pattern. Leave roughly ribbon-width gaps so the exposed white forms an equally strong stripe. On brown, gray, or other post colors, wrap red and white ribbon side by side instead. You don’t need paint.
Secure both ends with removable fasteners, such as outdoor-rated reusable hook-and-loop straps wrapped around the post. Skip staples and permanent adhesive. Tuck cut ends beneath the straps so nothing hangs loose. Test attachment compatibility discreetly on the back first, checking for rubbing, staining, or finish damage before wrapping the visible faces.
Keep the finish tidy. For these Christmas mailbox post decorations, trim excess ribbon and keep straps snug without overtightening them. Photo brief: show a close-up of the lower ribbon end tucked securely beneath its strap, with even stripe spacing visible.
I’ll never forget the red velvet bow. Each December, my mother would walk to the end of our driveway and tie that simple bow around our mailbox. To her, it was a quick task. To me, it was magic.
That bow transformed our ordinary mailbox into a holiday beacon. It told the mail carrier they were appreciated. It welcomed guests before they reached our door. It made our home feel special.
As a curb appeal specialist for over twelve years, I’ve seen how Christmas mailbox decorations can transform entire properties. Your mailbox is the first touchpoint visitors encounter.
In 2026, outdoor mailbox decor has evolved from simple bows to creative expressions of holiday spirit. Let me show you how to create a welcoming display that spreads joy to everyone who passes by.
Why Mailbox Decor Matters in 2026
Your mailbox does more than hold letters. It’s a canvas for holiday cheer with unique advantages:
- Community Connection: Spreads joy to neighbors and passersby
- Mail Carrier Appreciation: Shows gratitude to postal workers
- Curb Appeal Enhancement: Boosts your home’s holiday appearance
- Safety Feature: Helps visitors identify your home after dark
- Cost-Effective Impact: Creates big visual impact with minimal investment
Your 2026 Mailbox Decor Philosophy: Welcoming & Weather-Ready
Great holiday mailbox ideas balance beauty with practicality:
- Durability First: Choose materials that withstand winter weather
- Visibility Matters: Ensure mail can be delivered and collected easily
- Security Conscious: Avoid decorations that interfere with mailbox function
- Cohesive Design: Coordinate with your other outdoor decorations
- Community Appropriate: Consider neighborhood style and standards
Essential Mailbox Decor Toolkit
Gather these weather-resistant materials:
- Fastening Supplies: Zip ties, floral wire, waterproof tape
- Weatherproof Decor: Outdoor-rated ribbons, artificial greens, plastic ornaments
- Lighting Elements: Battery-operated LEDs, solar lights
- Natural Elements: Pinecones, evergreen clippings, berries
- Personal Touches: Custom signs, family name plaques, themed ornaments
Trend 1: Sustainable & Natural Mailbox Designs
Modern festive mailbox display options celebrate eco-friendly materials that honor the environment.
Design: The Foraged Forest Mailbox
- Materials Needed: Evergreen garland, pinecones, birch pieces, natural twine
- Creation Process:
- Wrap mailbox post with evergreen garland
- Wire pinecones at varying heights
- Add birch slices as decorative accents
- Secure with natural jute twine
- Why It Works for 2026:This creates plastic-free Christmas decorations using completely natural materials. The organic look blends beautifully with any landscape and provides winter habitat for beneficial insects.
Design: Bird-Friendly Holiday Mailbox
- Materials Needed: Suet feeders, birdseed ornaments, berry branches
- Creation Process:
- Attach small suet cages to mailbox post
- Hang birdseed ornaments from mailbox arm
- Add native berry-producing branches
- Include a small water source nearby
- Pro Tip: This approach supports local wildlife while creating a dynamic outdoor mailbox decor display that changes throughout the day.
Trend 2: Smart & Interactive Mailbox Features
Technology enhances traditional mailbox decorating while creating memorable experiences.
Design: The Talking Mailbox
- Materials Needed: Weatherproof speaker, motion sensor, holiday messages
- Creation Process:
- Hide weatherproof speaker near mailbox
- Program motion-activated holiday greetings
- Record personalized video message from Santa AI for special deliveries
- Include mail carrier appreciation messages
- Why It Works for 2026:This interactive approach delights visitors and shows extra appreciation for delivery workers. It turns routine mail collection into a special moment.
Design: Light-Activated Mailbox Display
- Materials Needed: Solar lights, light sensor, programmable LEDs
- Creation Process:
- Install solar-powered lights on mailbox
- Program smart home Christmas light sync compatibility
- Set automatic dusk-to-dawn operation
- Create light patterns that welcome visitors
- Pro Tip: This energy-efficient solution provides safety and beauty while working with your existing outdoor Christmas decorations.
Trend 3: Themed Mailbox Stories
The most memorable holiday mailbox ideas create complete narratives that spark joy.
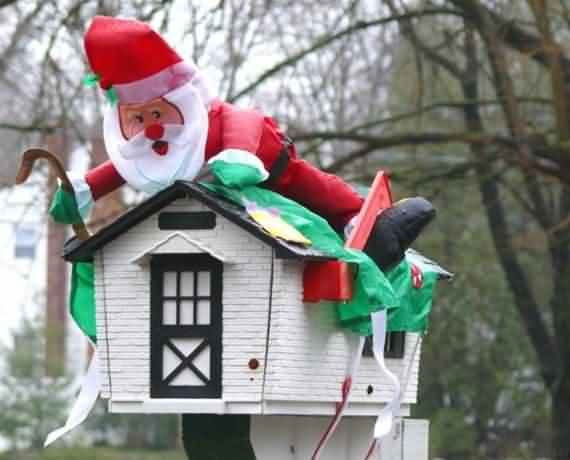
Design: Santa’s North Pole Mailbox
- Materials Needed: “North Pole” sign, fake snow, Santa boot print decals
- Creation Process:
- Attach “North Pole Post Office” sign to mailbox
- Apply fake snow to mailbox roof and surrounding area
- Place Santa boot prints leading to mailbox
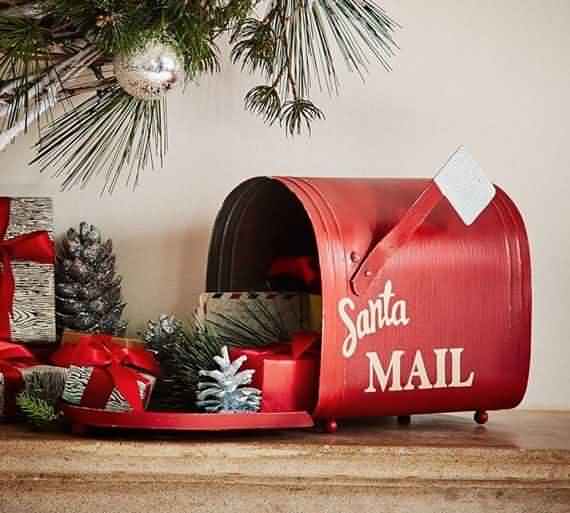
- Add “Letters to Santa” collection box nearby
- Why It Works for 2026:This immersive approach encourages children to write letters to Santa. It creates magical photo opportunities and becomes a neighborhood landmark.
Design: The Christmas Storybook Mailbox
- Materials Needed: Book-themed decorations, character figures, story elements
- Creation Process:
- Choose a favorite holiday storybook theme
- Decorate mailbox to represent story elements
- Add character figures from the story
- Include book cover reproduction
- Pro Tip: This design works beautifully for families with young children and can become an annual tradition with different book themes each year. Enjoy these holiday mailbox ideas.

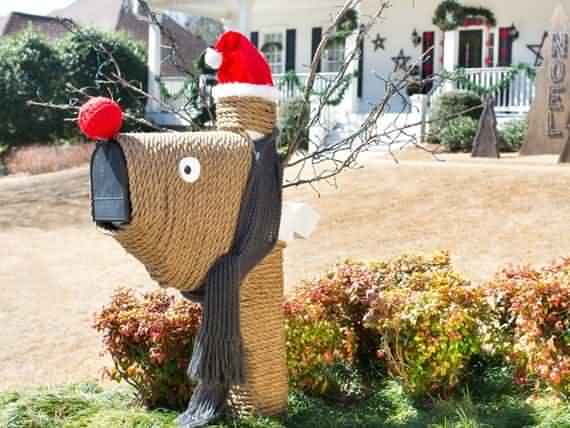

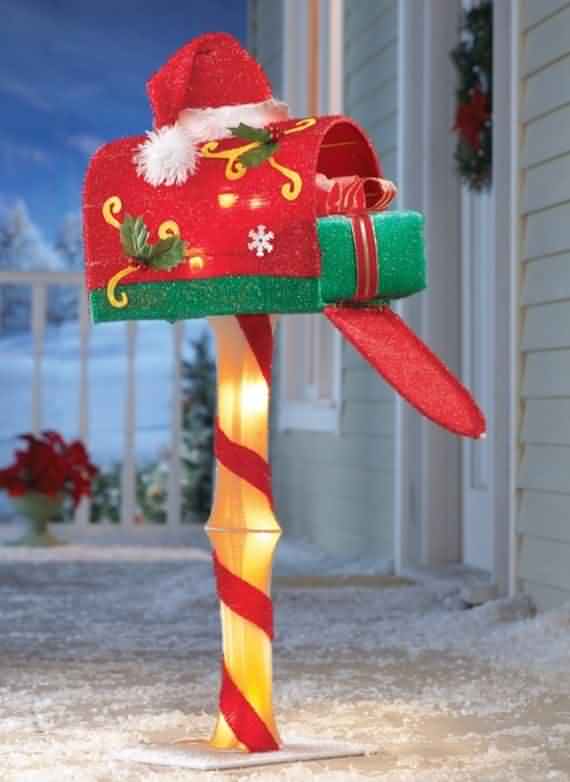


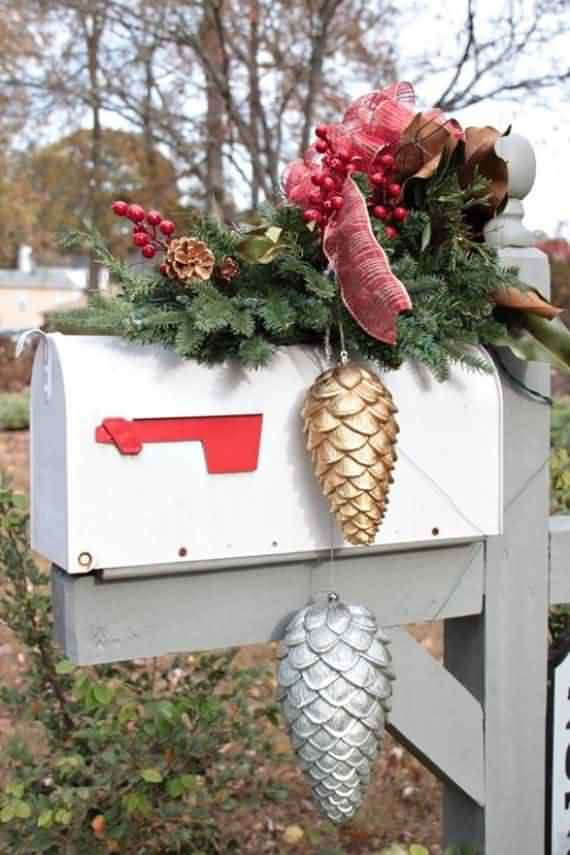

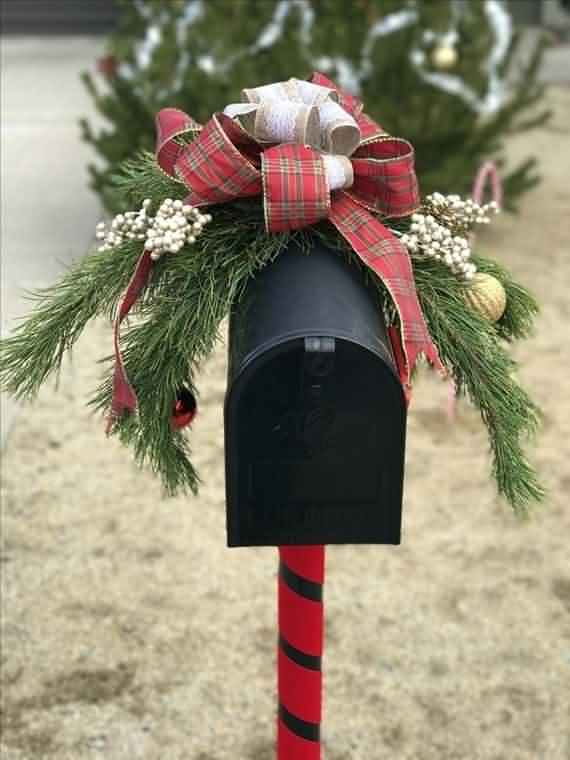






4. Build a Rustic Pinecone and Plaid Accent
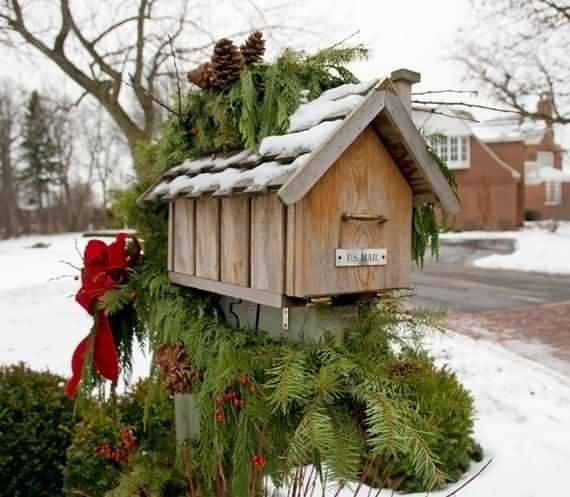
Keep the palette restrained. Brown pinecones, muted red faux berries, and cream-and-red outdoor plaid ribbon create a rustic Christmas mailbox accent without crowding it. Choose three small, clean, dry pinecones with intact scales. Brush away debris before assembly, and discard any cones showing mold or insect activity.
Build on a removable base. A small mesh backing gives you attachment points for pinecone mailbox decorations without placing loose pieces on the housing. Use flexible garden ties around each cone’s lower scales, securing each one individually to the backing. Tighten gently so the scales don’t snap.
Add just two accents. Fasten a small faux berry sprig to the backing, then attach an outdoor plaid bow separately through its center knot. Keep berry stems tucked inward and ribbon tails short. Strap the lightweight base to the mailbox post, keeping every component clear of the box’s hinges.
Allow roughly 20 minutes. That estimate assumes your materials are gathered and the pinecones are already clean and dry. Untreated cones can deteriorate through repeated wetting, so replace softened or moldy pieces. For the photo, show brown cones, muted red berries, and cream plaid against the post, with hinge clearance visible.
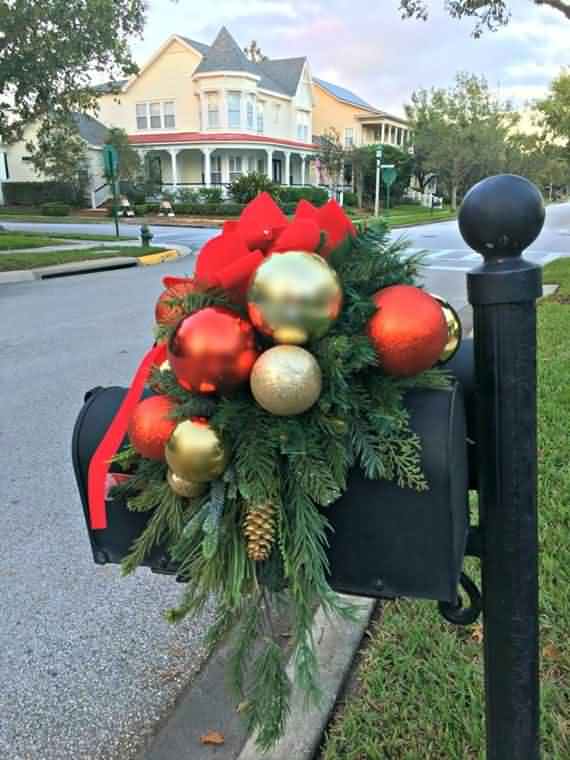
5. Cluster Shatter-Resistant Ornaments for Color
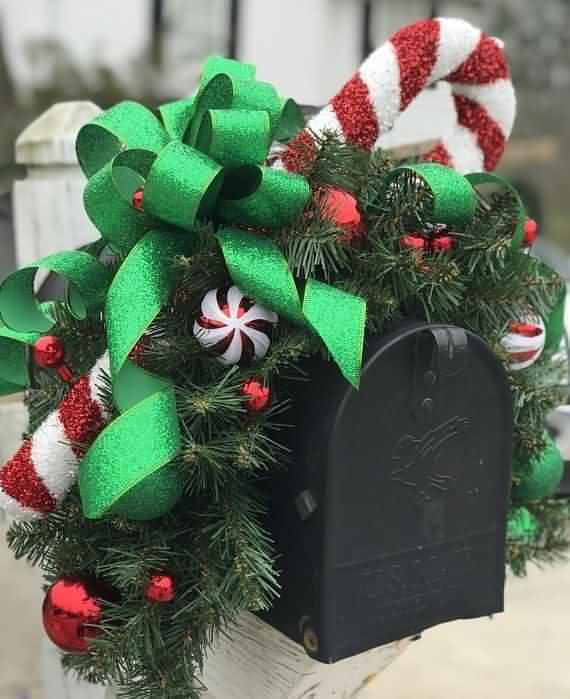
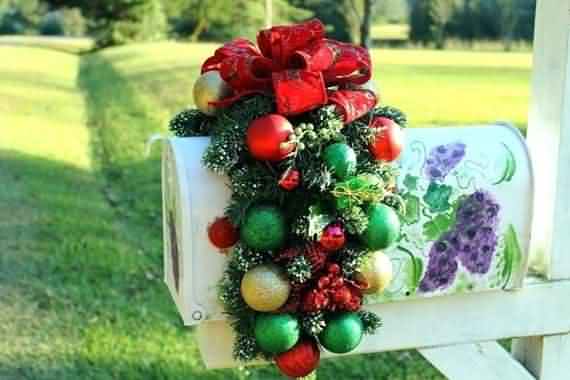
Keep the weight low. Choose lightweight plastic Christmas mailbox ornaments labeled suitable for outdoor display, rather than glass baubles. Shatter-resistant doesn’t mean weatherproof: check whether the finish, hanging caps, and attachments can tolerate outdoor exposure.
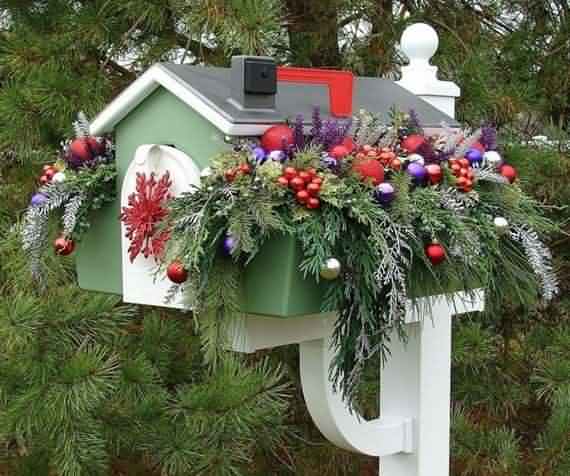
Build a compact group. Start with three to five outdoor-rated ornaments in two sizes, arranging larger baubles behind smaller ones. A restrained mix of glossy and matte finishes gives colorful mailbox decorations depth without adding more colors. Nest the ornament cluster against a short greenery bundle or the side of a sturdy post.
Anchor every piece separately. Thread reusable ties through each ornament’s hanging loop, then fasten each tie to the stable support. Don’t rely on one ornament to carry another. Leave minimal slack so pieces can’t swing into the road or mailbox door. If a cap pulls loose with a gentle tug, don’t use that ornament.
Budget about 15–20 minutes. That allows time for arranging, individual attachment, and a gentle movement check before you trim excess tie ends.
Keep the palette cohesive. Photo brief: Show a tight red, white, and gold cluster resting against the post, with individual attachments visible. Include enough surrounding space to show clearance from the door and roadway.
6. Outline Greenery With Outdoor Battery Lights
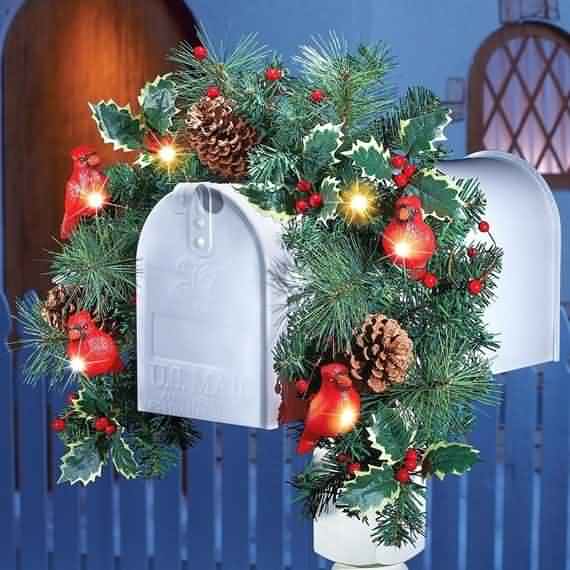
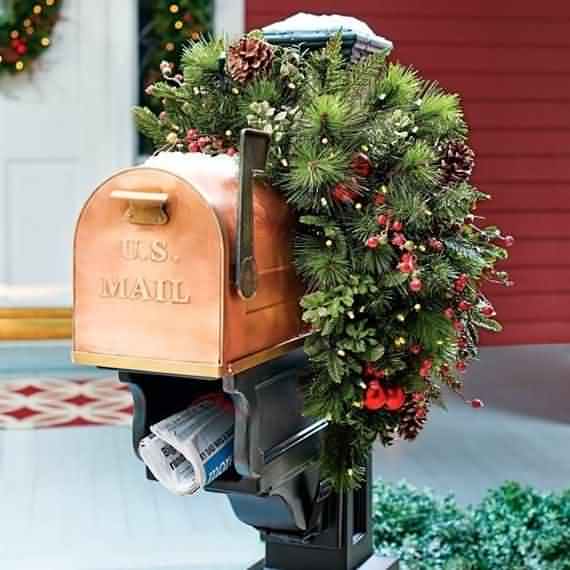
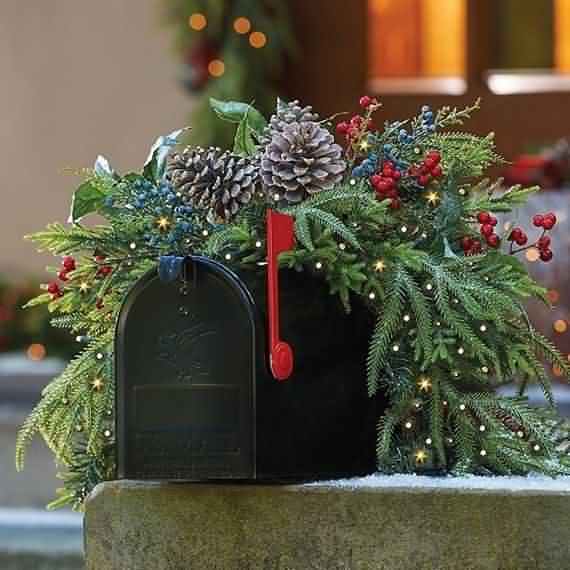
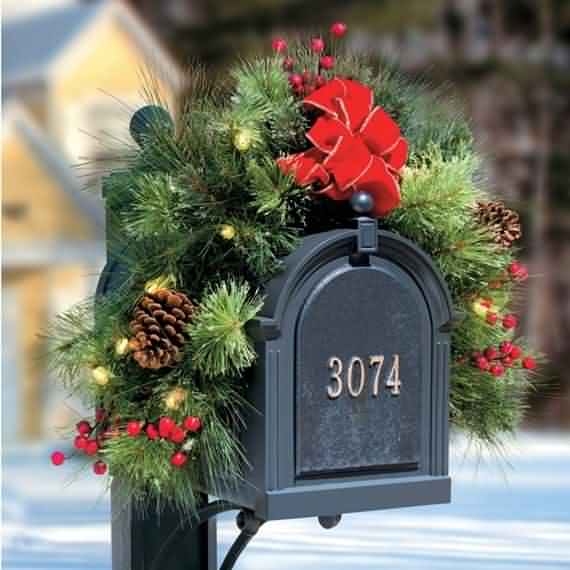
A short strand adds definition without covering the greenery in a dense net of bulbs. Follow the swag’s shape. Thread outdoor-rated LED string lights loosely through the branches, positioning bulbs along the outer edges. For lighted Christmas mailbox decorations, this creates a readable outline after dark.
Check both ratings separately. The lights and battery enclosure must be rated for their actual exposure and installed according to manufacturer instructions. Don’t assume a weather-resistant strand means its battery box can sit uncovered in rain. Secure the enclosure outside the mail compartment, following the manufacturer’s placement requirements.
Leave the wiring slack. Use soft ties to secure the strand within the swag without pinching wires or pulling branches out of shape. Route every wire away from the door, hinges, and flag’s travel. Allow approximately 15–20 minutes to fit outdoor battery lights into an already-mounted swag, then test normal operation.
A timer simplifies evenings. If the set includes one, choose a cycle that covers your preferred viewing hours without daily switching. Battery life varies with settings, temperature, and use. For the evening photo, shoot at dusk from the curb, showing the glowing outline, accessible door, and unobstructed address numbers.
7. Create a Winter-White Snowflake Display
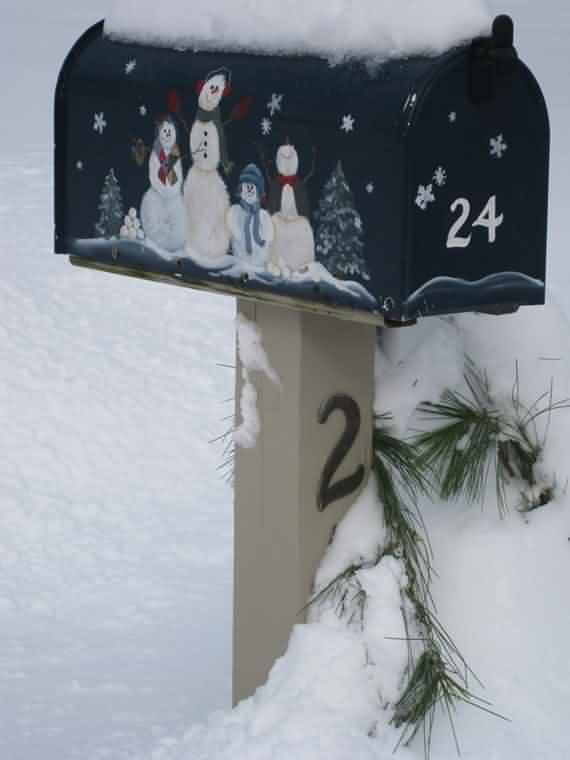
White-on-white details need contrast. Layer outdoor snowflake ornaments in two sizes against a dark mailbox, then tie white ribbon around the post. Choose matte ornaments with small silver accents rather than an entirely reflective finish.
Mailbox-Specific Design Considerations
Different mailbox types require specialized approaches:
For Post-Mounted Mailboxes:
- Decorate both post and box
- Use weather-resistant materials at ground level
- Ensure clear access to mail flag and door
- Consider post wraps or decorative collars
For Wall-Mounted Mailboxes:
- Coordinate with house siding color
- Use lighter decorations to avoid damage
- Incorporate surrounding wall space
- Ensure house numbers remain visible
For Cluster Box Units:
- Decorate surrounding area rather than individual boxes
- Use removable decorations that won’t disturb neighbors
- Create a communal holiday display
- Follow any HOA guidelines for shared spaces
Advanced Installation Techniques
After twelve years of outdoor installations, these methods ensure lasting results:
- The Weight Distribution Method: Balance decorations to prevent tipping
- The Weatherproofing System: Use outdoor-rated materials and sealants
- The Security Check: Ensure decorations don’t interfere with mailbox function
- The Maintenance Access: Design for easy decoration updates and repairs
Step-by-Step: Creating Your Perfect Mailbox Display
Follow this professional process:
- Assess Your Mailbox: Note style, condition, and mounting type
- Check Regulations: Verify any postal service or HOA requirements
- Choose Your Theme: Select a cohesive design story
- Gather Materials: Collect all weather-resistant elements
- Install Securely: Use appropriate fasteners and techniques
- Add Lighting: Incorporate evening visibility elements
- Final Safety Check: Ensure clear access and secure installation
Troubleshooting Common Mailbox Challenges
Even beautiful decorations can present issues:
For High-Wind Areas:
- Use flexible decorations that move with wind
- Secure all elements with multiple attachment points
- Avoid large flat surfaces that catch wind
- Check stability after severe weather
For Heavy Snow Regions:
- Use waterproof materials exclusively
- Ensure drainage to prevent ice damage
- Place decorations above snow line
- Choose materials that won’t become brittle in cold
For Mail Security:
- Never block mailbox door or flag
- Avoid decorations that could trap moisture
- Ensure mail carrier has clear access
- Use only removable, non-damaging fasteners
Conclusion: Your First Gift to Visitors
That simple red bow from my childhood taught me an important lesson. Christmas mailbox decorations aren’t just about making your property look festive. They’re about generosity. They’re about sharing holiday spirit with your entire community—neighbors, delivery drivers, and even strangers passing by.
Whether you create a sustainable natural design, an interactive smart display, or a themed story scene, remember that you’re doing more than decorating. You’re spreading joy. You’re creating smiles. You’re making the world a little brighter, one mailbox at a time.
Frequently Asked Questions (FAQ)
Q1: Are there legal restrictions on decorating my mailbox?
A: Yes, important considerations include:
- USPS Regulations: Cannot obstruct mail delivery or collection
- HOA Rules: Many communities have decoration guidelines
- Safety Requirements: Must not create hazards for mail carriers
- Visibility Standards: House numbers must remain visible
- Property Lines: Ensure decorations stay on your property
Q2: What’s the best way to secure decorations in windy weather?
A: Wind-resistant installation techniques:
- Use UV-resistant zip ties for strong holding power
- Apply waterproof adhesives for additional security
- Choose flexible materials that move with wind
- Avoid heavy elements on mailbox door
- Check attachments weekly during season
Q3: How can I make my mailbox decorations visible at night?
A: Safe lighting solutions for evening impact:
- Solar-powered LEDs for easy installation
- Battery-operated lights with automatic timers
- Reflective tapes and ornaments for passive visibility
- Path lighting directed toward mailbox
- Motion-activated lights for energy efficiency
Q4: What decorations hold up best in snow and rain?
A: Weather-resistant materials that last:
- Plastic ornaments instead of glass
- Artificial greenery rated for outdoor use
- Metal decorations with weatherproof coating
- Fabric ribbons specifically made for outdoors
- Solar components with waterproof ratings
Q5: How do I protect my mailbox from decoration damage?
A: Preservation techniques for your mailbox:
- Use non-damaging adhesives that remove cleanly
- Avoid abrasive materials that could scratch surfaces
- Prevent moisture trapping that causes rust
- Check regularly for any wear or damage
- Clean thoroughly before and after decorating